Hosting a Yard Sale That Clears It All Out

No matter the situation you’re in, whether downsizing from one home to a smaller one or moving from one city to another, clutter is bound to accumulate. To get rid of it all as you make your next transition in life, try having a yard sale!
While it may seem overwhelming at first, especially if it’s your first time, don’t worry. Our step-by-step guide will show you how to turn clutter into a little weekend cash without taking anything back inside.
Step 1: Organizing for a Yard Sale
Organizing is the first and most important step in hosting your own yard sale. No one wants to shop at one that’s messy and out of order, and to avoid that, here are some steps you should follow so everything before the sale happens goes smoothly.
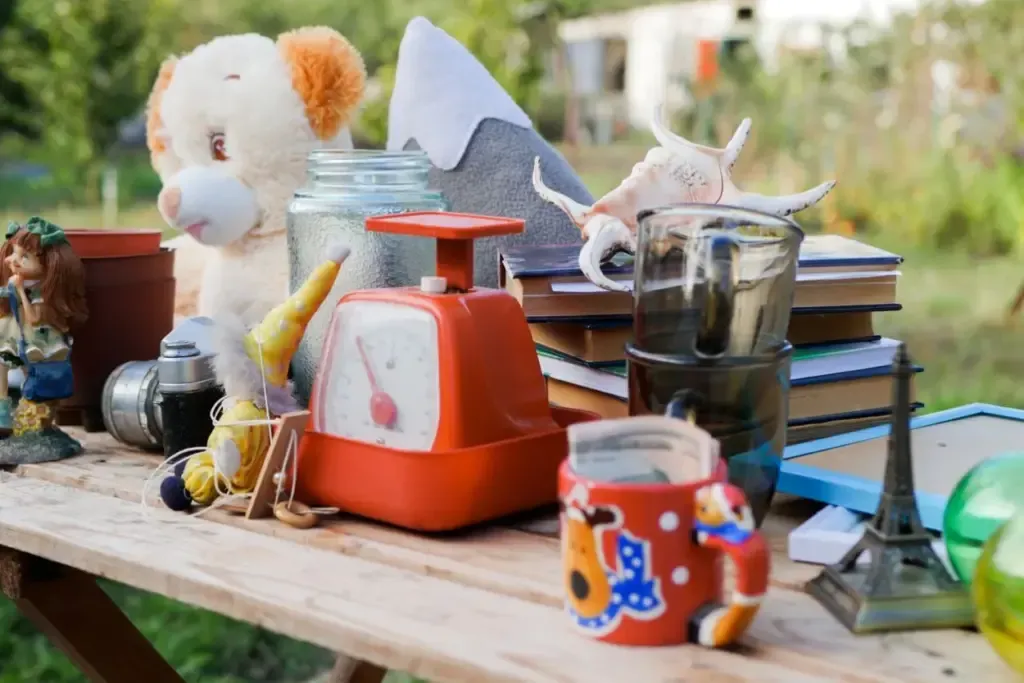
How To Organize Clutter Before the Sale
Just like when you’re downsizing or moving into a new home, decluttering is always the first step, even when hosting a yard sale. But the question is, where should you start? While you may want to do it all at once just to get it over with, that isn’t a good idea, as you can tire yourself out and even be overwhelmed with it all. Instead, start small and just go room by room.
Your mind will be much clearer when you ask yourself some questions as you come upon items you may want to sell, such as “Have I used this in over a year?” or “Is this broken beyond repair?”
Create An Inventory List
While decluttering is an essential part of the yard sale process, so is staying organized. Keep track of your items when you go through them by creating an inventory list. Write down what you find and put them into categories. If you see that something is missing a piece or has a little scratch, then make a note of it, as it can help you determine a price for the item.
Step 2: How To Organize a Yard Sale Layout

Unsure how to set up your first yard sale? It’s actually easier than you might think. First, make sure tables, boxes, and clothing racks are far enough away from each other so people can walk around easily as they browse. Also, try and set up your most eye-catching items near the front. This can draw attention to people walking or driving by who may want to stop and look at your other items.
Now that you know where to put everything, you may wonder where you should go from here. Put yourself and your checkout station in the very back. This will make customers have to look and go through everything in order to get to you. This is also a clever tactic, as they may find one or a few more things they’d like to buy along the way.
Step 3: How To Price Items at a Yard Sale
Are you wondering how to price items at a yard sale? The answer is to set a price that sells, not to haggle. Use simple pricing so people shouldn’t have to ask if something can be rounded up or down, and can have exact change if using cash.
In the morning, stick to the full price that you want an item to sell for. But by midafternoon, start offering markdowns to clear everything out.
Step 4: Timing and Promotion
The best time to have your yard sale is during the weekend, especially Saturday morning. Many people are off work or running errands in the morning, so you’re sure to get some foot traffic. But, try not to plan your sale on a holiday weekend or if you know a big event is happening near you—people may be too busy with their own plans to stop by.
Once you find a weekend that’s perfect for you, start setting up around 7:00 a.m. or 8:00 a.m. so you’re ready for any early shoppers. Try to keep your sale open until at least 2:00 p.m., as that’s when things should usually start slowing down.
Step 5: The Day-Of
When the day has arrived for your yard sale, make sure you have everything ready to go before the shoppers start showing up. While many may have money sending apps like CashApp or Venmo ready to go, a few shoppers out there still prefer paying with cash.
To accommodate them, have a cash box with plenty of small bills and coins in case you need to give out change. Also, it’s a good idea to set out plastic bags and boxes in case people need help carrying the things they buy.
Step 6: What To Do With What’s Left
The rule is simple: if you set something out with the intent of selling it, but it didn’t, then it doesn’t go back inside. If you happen to have any leftover items, pack them directly into your car and head straight to a donation center.
But if you’re in a time crunch and can’t fit that into your schedule, you can also easily post a “free stuff” curb alert online via social media and let your neighbors know they can take what they want. Whichever you choose, your home will stay tidy and without clutter.
Clear the Clutter and Take Back Your Space With Otter Self Storage
Ready to say goodbye to clutter for good? Let Otter Self Storage help you make space before, during, and after your yard sale. Whether you need a place to sort your items, store what’s left, or keep things out of the way while you organize, we have the perfect storage unit for you.
Call or contact us online to rent or reserve your storage unit at Otter Self Storage today and take the first step toward a clutter-free home!